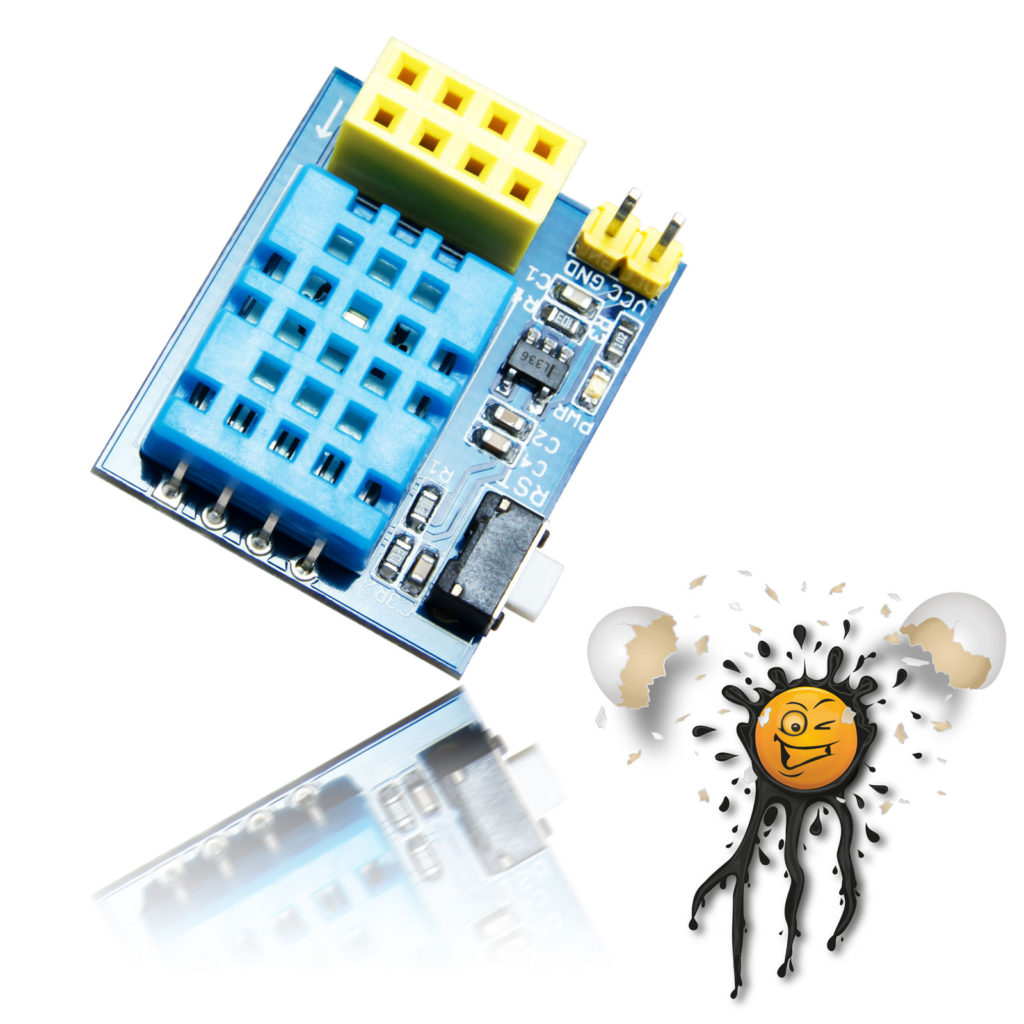
Tasmota WiFi DHT11 ESP8266 ESP01 Set IoT powered by androegg.de
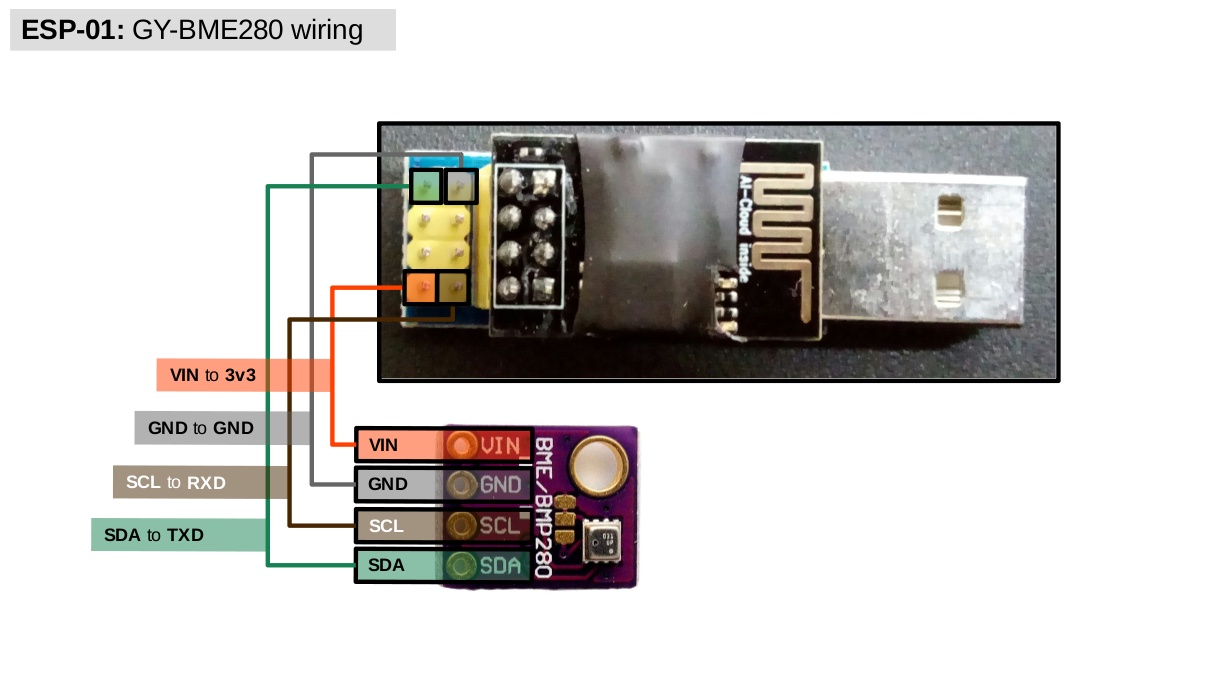
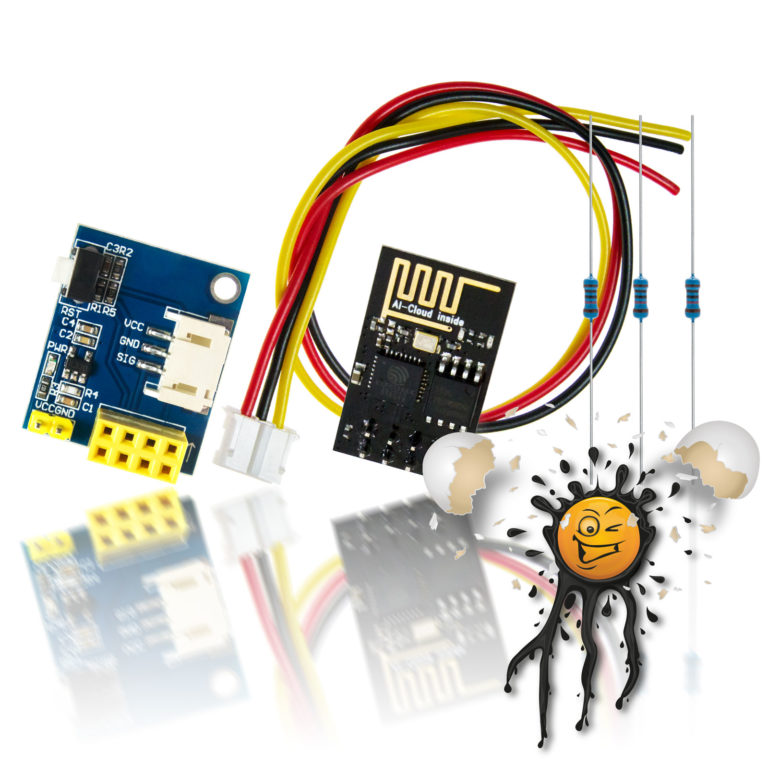
In this article, we learned how to integrate the small and cheap ESP-01 WiFi module with the reliable BME280 sensor to create a USB powered and low-profile Tasmota environmental sensor. Its BME280 sensor can be used to provide accurate measures of temperature, humidity, and pressure in different parts of the household, which can all be.
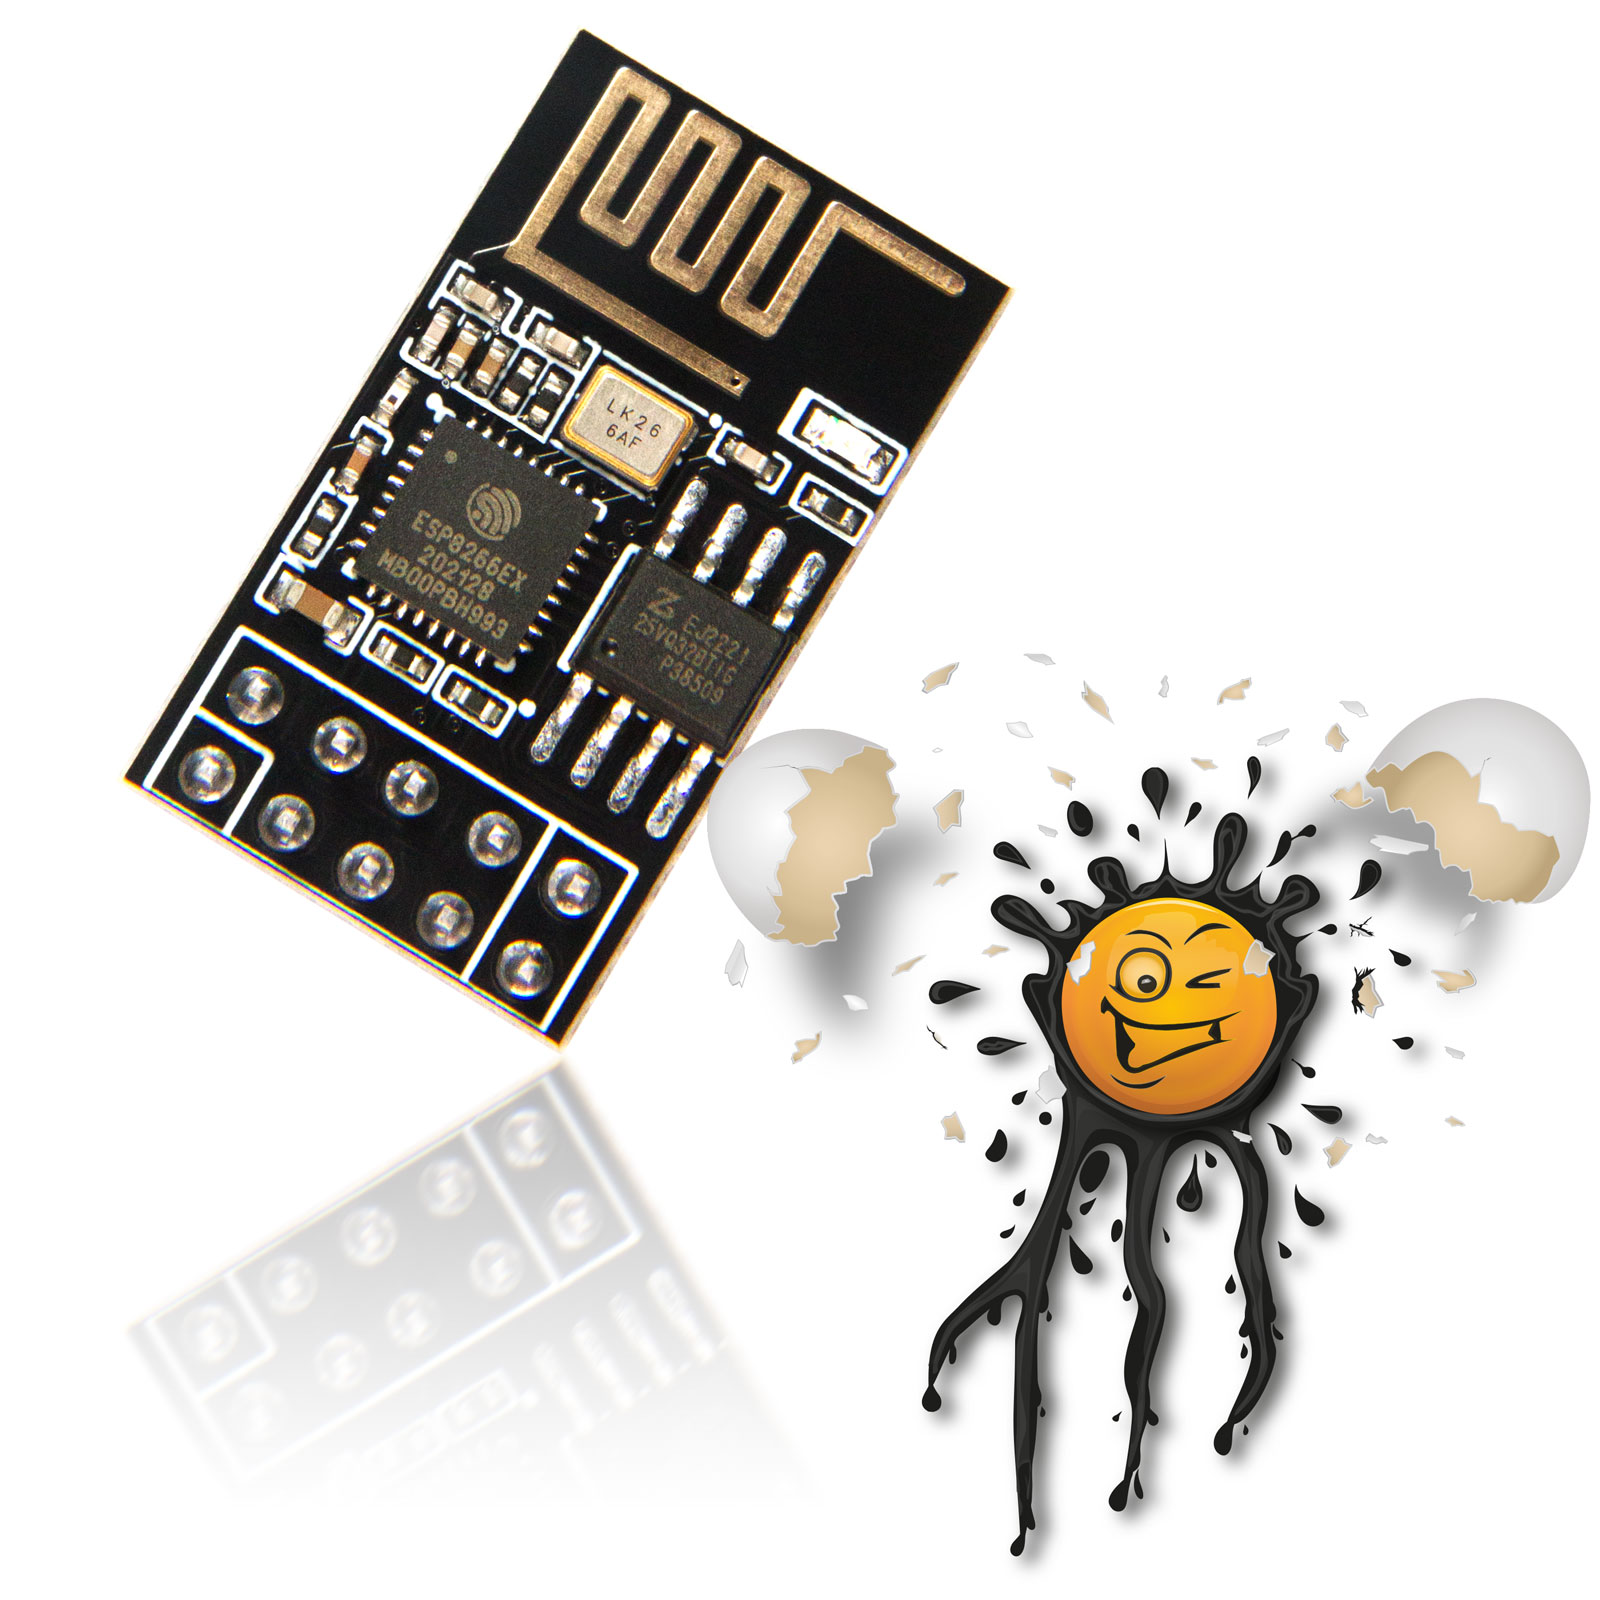
Tasmota ESP01+ ESP8266 Modul 32Mbit 10 Pin Version IoT powered by androegg.de
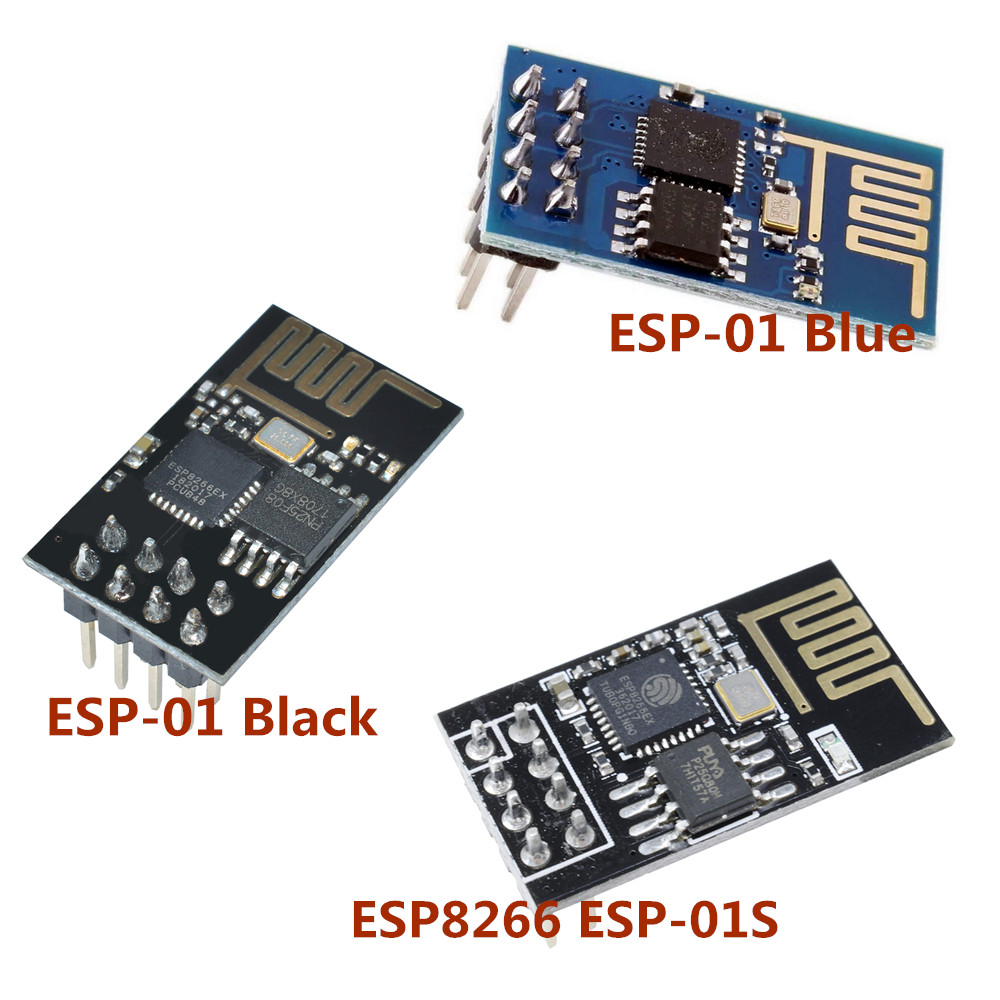
ESP-01S Module (ESP-01S) Configuration for Tasmota ESP-01S Module (ESP-01S) GLOBAL ESP8266 Available from: Aliexpress.com Amazon.de Banggood.com Manufacturer: Ai-thinker.com Install method: USB to Serial Configuration (old format, will be converted to new template when applied) Edit on GitHub

ESP01 modul programozása (Tasmota firmwarerel) Do IT Smart
In this video tutorial, we are also going to flash Tasmota firmware on ESP-01 and then control an LED and read DHT11 sensor data using it. Check out the comp.

Easy ESP01 Tasmota Programming 6 Steps (with Pictures) Instructables
Step 1: Download Required Software The first step is to download the required software to flash your ESP-01 with Tasmota. Download the latest binary version of Tasmota from this link. Download the latest version of Tasmotizer For Windows, the easiest method is to download and install the standalone .exe from this link.

Tasmota WiFi AM2301 DHT22 ESP8266 ESP01 Set IoT powered by androegg.de
To make this work with v1.0 of the ESP-01 Relay, you must remove R2 (desolder it or just break it off with a screwdriver) and pull CH_PD high (this is easiest to do with a 10k resistor): Configure your smart relay board to work with Tasmota open source firmware.

Tasmota on esp01 (esp8266) Abu's Blog!
How to use a ESP-01 flashed with Tasmota with small solar panel and battery, drawing only 0.2 milliamps for 10 mins and approx 100 milliamps for 20 secondsY.
DIY series ESP01 Tasmota environmental sensor CGomesu
Here's how I loaded the Tasmota firmware onto the ESP-01 module that was used for a relay module I got off eBay. Some links to my project pages, the firmwar.
DIY series ESP01 Tasmota environmental sensor CGomesu
Open source firmware for ESP devices~ Total local control with quick setup and updates. Control using MQTT, Web UI, HTTP or serial. Automate using timers, rules or scripts. Integration with home automation solutions. Incredibly expandable and flexible. Current Release Tasmota v13.3.0 Quinlan. Breaking Changes~ NeoPool SENSOR topic Power renamed.
How To Install Tasmota On Wemos Relay And Smartnest Esp Arduino Tutorial Images
Go to the known folder and install Esptool with command python setup.py install. Packages for Esptool are maintained for Debian and Ubuntu and can be installed with sudo apt install esptool. Download Tasmota Download the latest Tasmota release firmware file tasmota.bin to a known folder. Upload Tasmota Put device in firmware upload mode

Tasmota on esp01 (esp8266) Abu's Blog!
on Dec 7, 2021 I'm trying to set up Tasmota with an ESP-01 Relay so that I can turn on my Christmas lights with my smartphone. I've tried setting up both these templates: https://templates.blakadder.com/ESP-01S-Relay-v4.html https://templates.blakadder.com/ESP-01S-Relay-v1.html But no chance, it doesn't change relay state when clicking on Toggle:
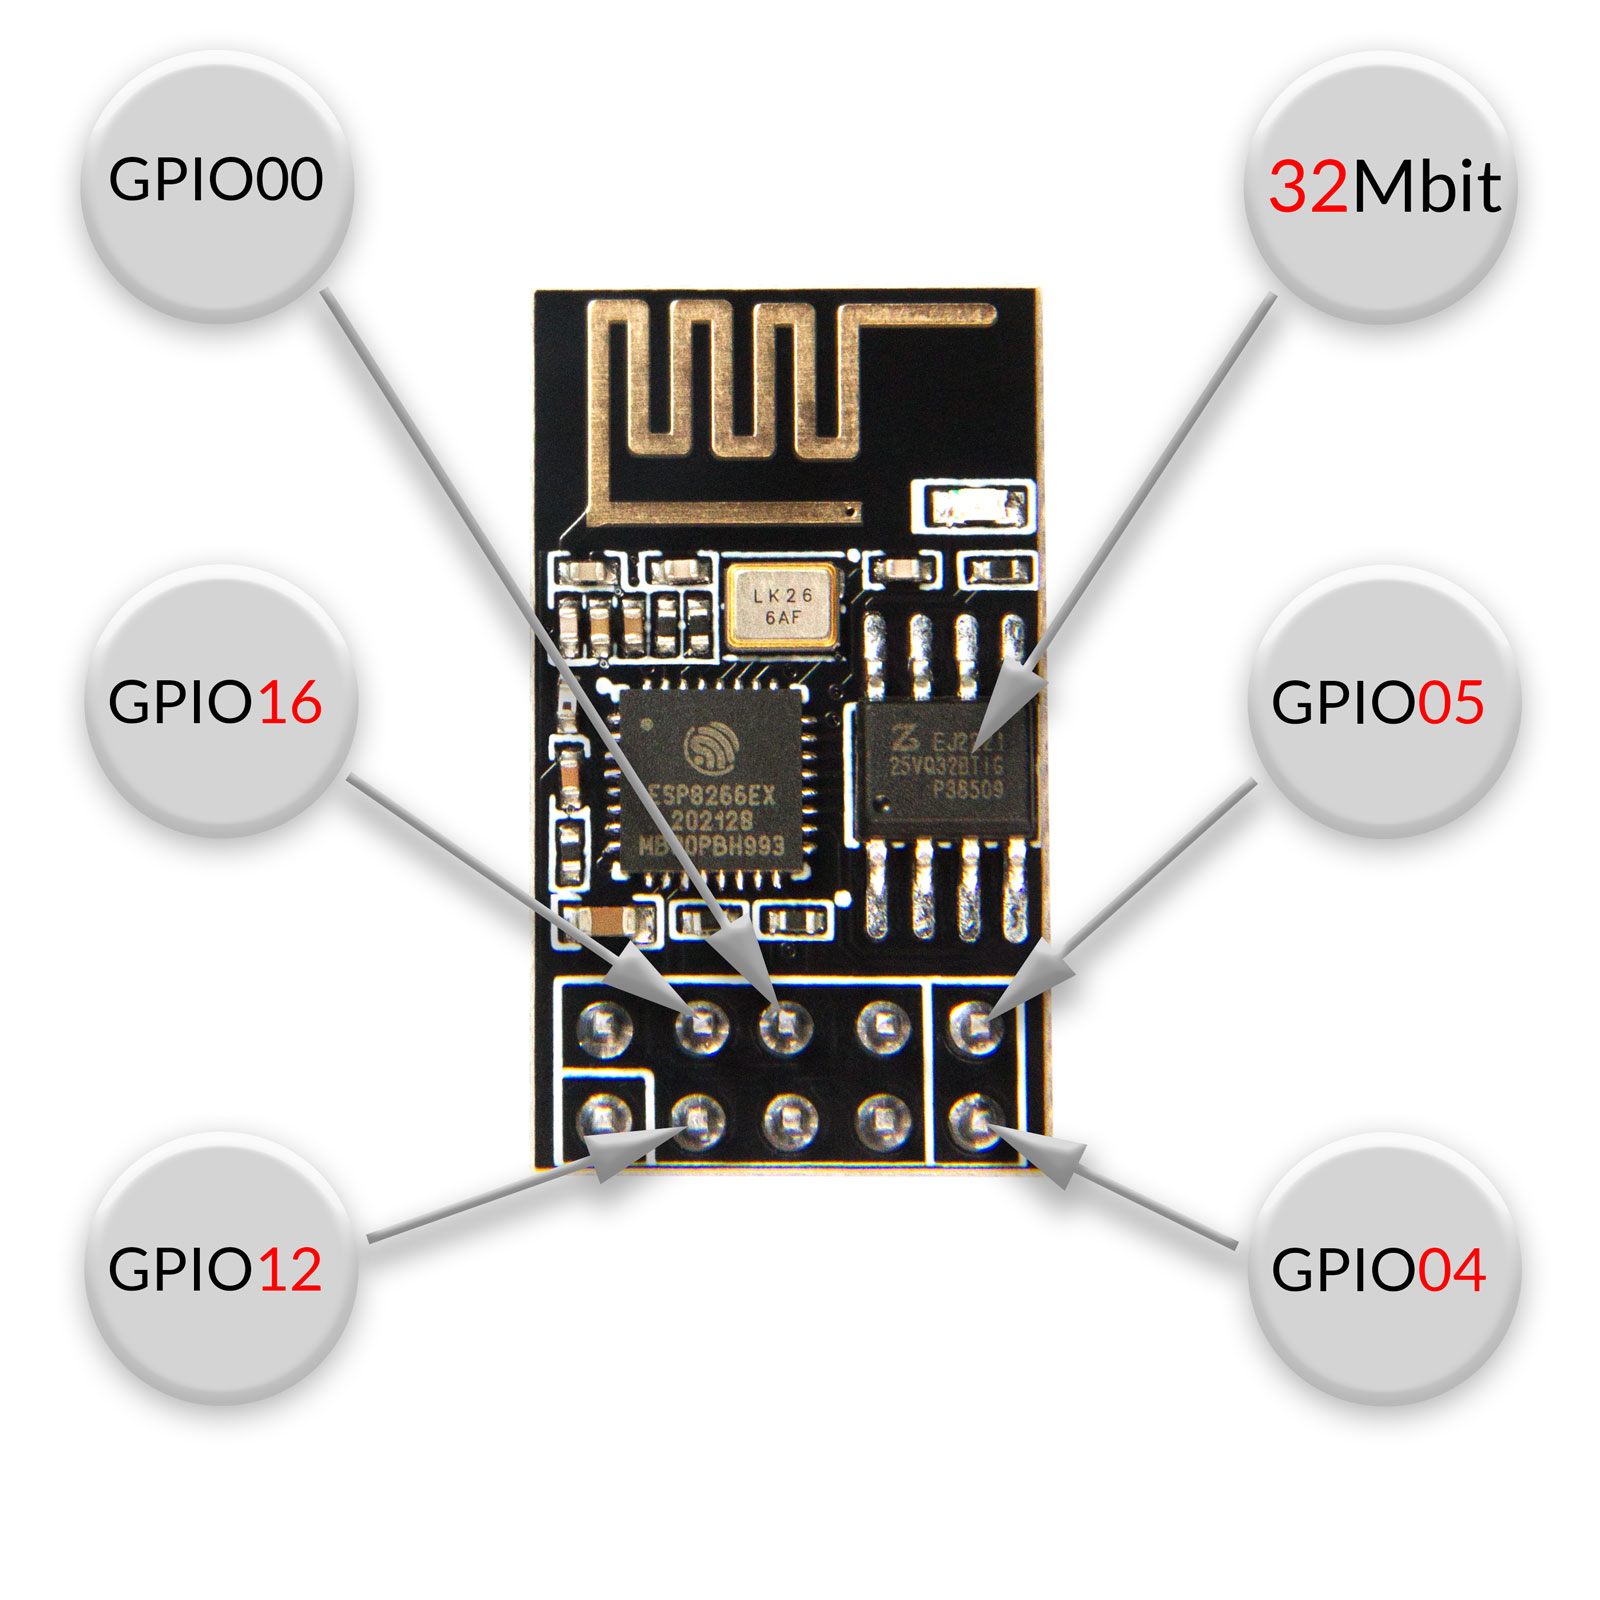
Tasmota ESP01+ ESP8266 Modul 32Mbit 10 Pin Version IoT powered by androegg.de
Tasmota supports multiple DS18x20 sensors connected to a single ESP8266/ESP32 chip using a single or multiple (up to 4) GPIOs. The default maximum is set to 8 sensors ( driver code ). It is possible to override this number in user_config_override.h by adding a line with #define DS18X20_MAX_SENSORS

Easy ESP01 Tasmota Programming 6 Steps (with Pictures) Instructables
ESP Device Every Espressif ESP8266, ESP8285, ESP32, ESP32-S or ESP32-C3 chipset based device can be flashed with Tasmota. The term ESP refers to any of them. Serial Programmer The power supplied to the device is one of the most important elements for both flashing the device and for stable operation.
What is Tasmota and How to use it with ESP01 to Control Smart Home Devices
Lyngby - Ballerup. Get to know this 10.5-mile point-to-point trail near Kongens Lyngby, Capital Region of Denmark. Generally considered a moderately challenging route, it takes an average of 3 h 55 min to complete. This trail is great for backpacking, birding, and camping, and it's unlikely you'll encounter many other people while exploring.
Tasmota WiFi DHT11 ESP8266 ESP01 Set IoT powered by androegg.de
Lyngby station - Ballerup Station. Experience this 15.0-mile point-to-point trail near Kongens Lyngby, Capital Region of Denmark. Generally considered a moderately challenging route, it takes an average of 5 h 16 min to complete. This trail is great for backpacking, camping, and road biking, and it's unlikely you'll encounter many other people.

WiFi WLan IoT RGB LED Controller WS2812 Tasmota OTA ESP8266 flash ESP01 Modul eBay
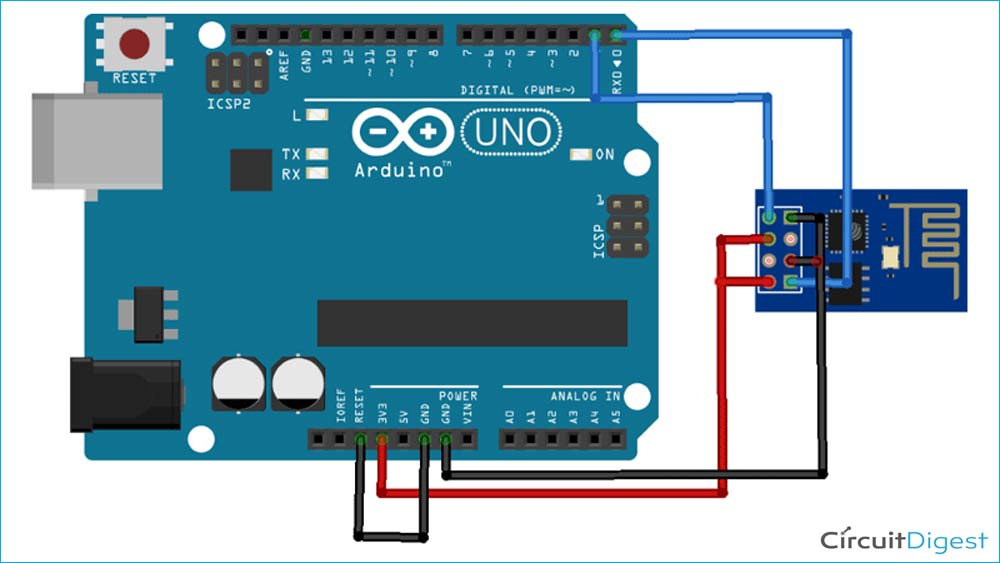
There are generally two methods for flashing Tasmota on ESP-01. One is Over the Air (OTA) and the other is using FTDI or Arduino Uno. In this project, we are going to use Arduino Uno for Flashing Tasmota on ESP-01. Step1: Preparing Hardware To flash a new firmware on ESP-01, connect ESP-01 with Arduino Uno as per the circuit diagram.

Tasmota ESP8266 ESP01+ Deep Sleep 512V Entwicklerplatine Development Board Kit eiot.de
Tasmota allows you to configure and control any device that uses the ESP Wi-Fi chip. Here, we are using the ESP-01 chip and to control LED and read the DHT11 sensor. With it, we first have to configure Tasmota. For that, first click on the 'Configuration' button and then in the next step click on 'Configure Module.'.